Pages

Friday, December 18, 2015

Merry Christmas Ramona Avenue Readers!

Hello dear friends! We want to wish you a very Merry Christmas and a Happy New Year! We are spending quality time with our family and friends and enjoying them, and we hope you are doing the same with your loved ones! 
We will be back on Jan 5. 
See you then!

Thursday, November 19, 2015

Ribbon Chain Garland

This post is a little late for fall and Thanksgiving but you know how it is! Time flies when you are having fun! I have a ton of decor for Halloween and almost as much for Christmas. It seems like the month between Halloween and the Christmas season just seems to speed by for me. So Thanksgiving seems to get the shaft a little bit in my home. Leftover pumpkins and handprint turkeys are the extent of the decorations around here. I decided to remedy that and add a couple of garlands this year. I made a pom pom garland. Which was crazy easy so I won't even go into details about it. The one I am most excited about is a ribbon chain garland! 

Did you make paper chains as a kid? I loved making them. I would make them and then take them apart and trash them and start over. This ribbon chain garland will last for years hopefully!


Supplies:
craft glue
coordinating ribbon

I used 3 spools of 1 and 1/2" ribbon. The glue I used was Elmers Craft Bond glue. I actually wouldn't recommend this glue. It says quick dry but it definitely wasn't. When I make another for Christmas I will probably use fabric-tac or a good old glue gun. 


The strips of ribbon are cut to about 7 inches long. After all the cutting was said and done I ended up with 15 strips of each color.  


After that I put a thick line of Craft Bond and made the first loop. You want to make sure that you use enough glue. The brown grosgrain ribbon seemed to just soak up the glue so it needed a much healthier line of glue. The seam is just overlapped. I didn't do any fancy overlapping to try and hide it. The ribbon loops can be turned once it is hung so the seam is in the back, am I right?


Yay three loops! Now all you have to do is loop them through each other and wah-lah!


This is what I mean about the seam. I just cut glue and stuck. Easy Peasy. After you have looped all your ribbon together, let it dry overnight. Just to make sure it is 100% dry.


Oh I love how it turned out. I am thinking of making another with thin ribbon to layer with this one and of course there are Christmas ones coming. It went together fast and it was a total bargain. The cost with the glue was less than 10 dollars. That's my kind of craft! 

Do you like to make your holiday decor? We'd love to see any posts or instagram pics of your DIY holiday decor! Tag us @ramonaavenue! Or leave a link to your post in the comments.

Peace out! -AnneMarie 


Thursday, October 22, 2015

Halloween Nails! Throwback Thursday!

Anne Marie did a great job with her nail tutorial! Come and see!! 

I am coming at you today with a cute and wicked easy Halloween nail tutorial. This is a little momentous for me. I have never had a steady enough hand or the patience to do a lot of cute nail art. Dripping blood? It isn't precision or neat. Just my style!


The tools:
red nail polish
toothpicks
Q-tips
nail polish remover


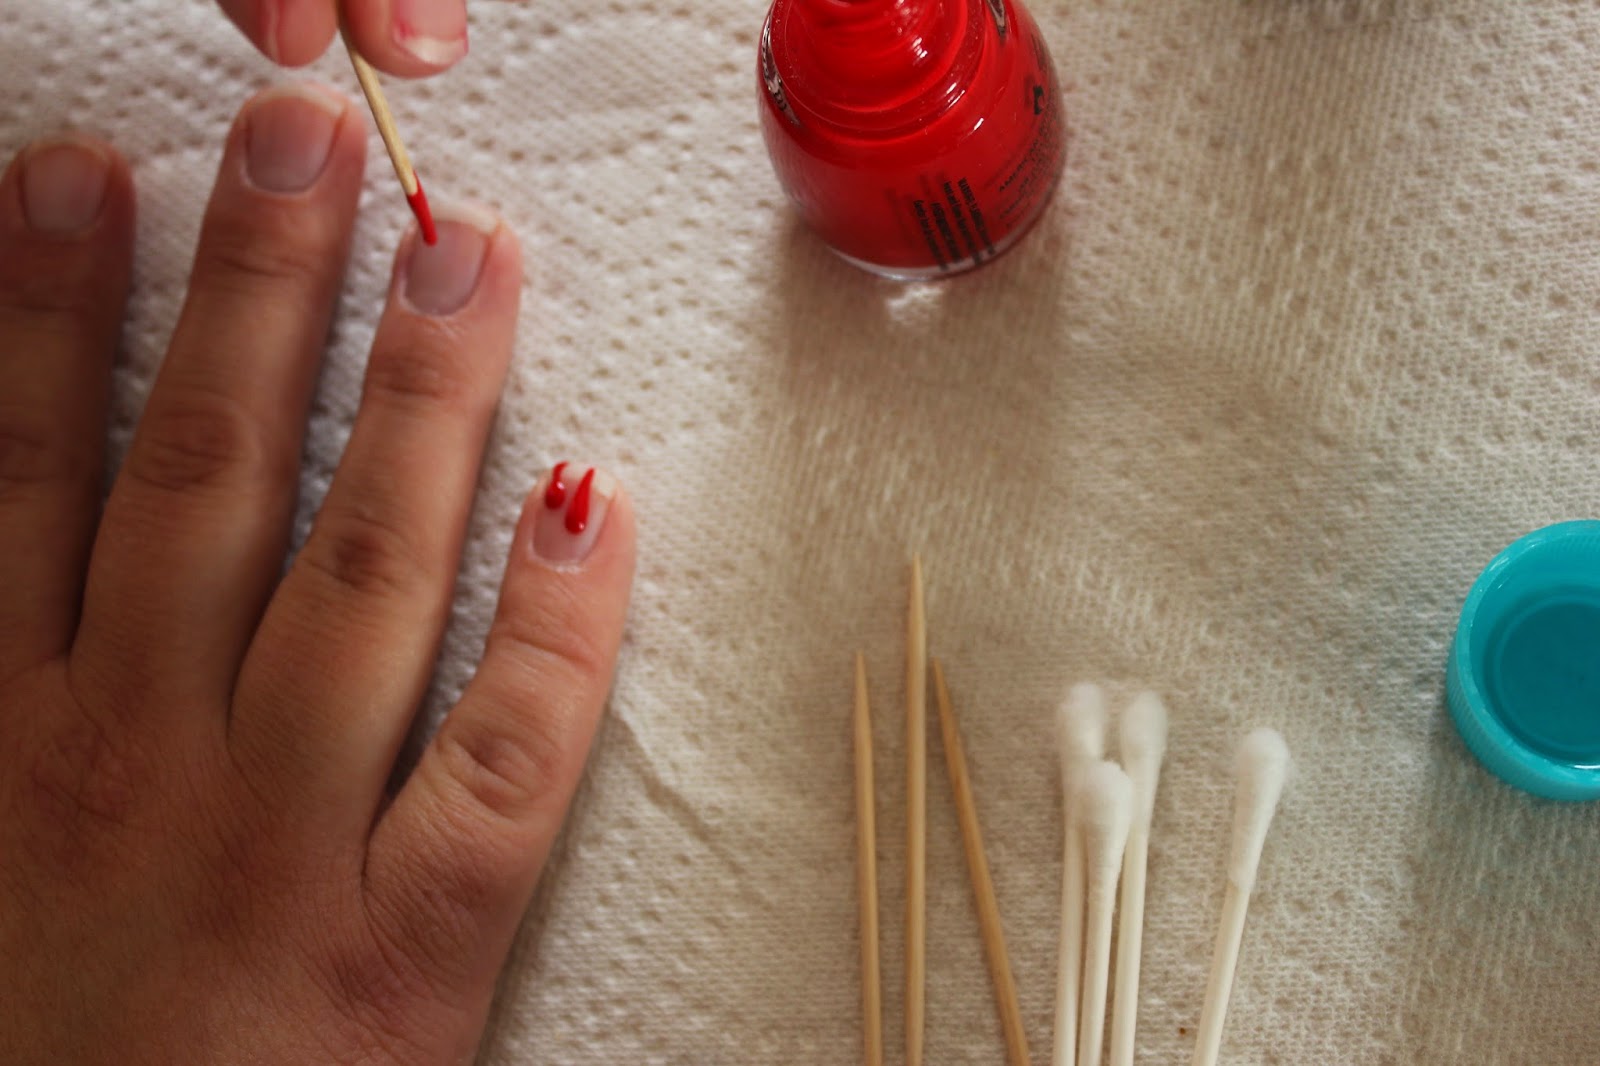
To start you dip a toothpick in the red nail polish and drip drops on your nails. Then take the toothpick and drag it through the dots towards the tip of your nail. Those are the streaks of blood.


Immediately after you finish your streaks of blood you need to swipe some red across the top of your fingernail. The blood needs to be dripping from somewhere! After they were all done with the first coat I swiped another coat across the top just for good measure. Then if you are like me you take your  Q-tips soaked in nail polish remover and you get the red nail polish off your fingers.


Oh so scary!


All of my nails in a row. Taking pictures of your nails or hands is awkward. I love them! Plus of they aren't perfect no one is the wiser. It is dripping blood for heavens sake!

Peace out!- AnneMarie

Wednesday, October 21, 2015

Pretzel Surprise! A quick Easy Halloween Treat!

This is a really quick and easy but very fun Halloween treat! It is fun both to eat and to make so its win win! AND you dont have to be a gourmet cook or break to bank either. YAY! Here is what you will need:

Pretzels
Melted chocolate of your choice 
candy eyes


To make you dip one end in the chocolate making sure that the chocolate still completely covers 2 holes and then while the chocolate is still wet, add the eyes. 
Allow to set and ENJOY! 
The video below will show you how! 
Please feel free to share too! 


Thursday, October 15, 2015

Throw Back Thursday- Free Halloween Printable

These are a free printable that my niece Gabby created last year for all of us. And guess what? You can still use them this year! Head over here to the post from last year to check them out and get the download! 


Gabby does all kinds of custom designs! She does prints, valentines and invitations to name a few things. You can comment below if you are interested in having here create something for you. We would be more than happy to get the message to her!